Wednesday 31 July 2013

The talented Heather has stopped by tonight with a gorgeous card
 
 Molossi Products

Glitter cardstock - pink
Butterfly lines scrapbook paper sp071
Butterfly tags/cutouts scrapbook paper sp072
Honeycomb chippie
Number chippie


 Leaves & flower vellum embellishment, coloured with Impress Markers & aquapainter to achieve water colour effect
Kindyglitz in dusty rose
Molossi diamante bling in pink
Molossi double sided square foam tabs
Card sits on Molossi glitter cardstock in aqua

 Own products

Impress Markers & aquapainter pen
Pink acrylic paint

Be sure to check out more of Heathers work at 
www.facebook.com/stationerybyheather

Photobucket

Saturday 27 July 2013

The lovely Gail is sharing with us tonight, with the use of some more of our chippie range
This is what Gail tells 
Here is a page done using the flourish and gate.
I wanted to keep this design simple so the gate would be the focus which I inked in black ink. I glimmer Misted the flourish with black magic.
I used graphic 45 French Country paper& various metal charms.
More of Gail's work can be found at  
http://www.facebook.com/pages/Craft-In-The-West/121959879645?fref=ts
Photobucket

Monday 22 July 2013

I have another treat from you tonight from our talented Cathi all the way from Ireland 
 
Here is what Cathi has to say:

For this layout I have to admit I went a lot more mixed media than I usually do, it was fun to get inky!!

I showcase the gorgeous Chicken Wire Panel and one of the gorgeous butterflies from Butterfly Pack #3. I used many mists, stencils and stamping on my layout, stitching and lots of Prima embellishments and flowers.
 The photo is my oldest when she was about 8 months old, holding a little American flag my mom sent, and a patriotic outfit a friend sent over! Being an American abroad, I don't do much for the 4th but we like to mark the day a little in some way!!

Photobucket
Our inspiring Gail is with us tonight sharing a beautiful girl page using Molossi chipboard pieces. 
This is what Gail put in her email to us: 
I have just completed a page using the butterfly’s and floral frame.
I used daubers to ink the chipboard to get the right colouring and Molossi Rhinestones in different sizes to add some bling
I used Crate paper and after cutting out the flowers inked their edges to hide the white edge and added rhinestones.
PS Thanks for the challenge as I have boys and rarely do the flower thing..

More of Gail's work can be found at  
http://www.facebook.com/pages/Craft-In-The-West/121959879645?fref=ts
Photobucket

Sunday 21 July 2013

I have a very special share from the lovely Eve tonight, with such a heartfelt piece, let me share the email I received with the design
"Today I have created a multimedia canvas (first time ever) super pleased with the results .
I have used 2 canvases and the Molossi chipboard tree to create a family tree of my kids to display in my home , but whats really special about this piece of art work for me is the buttons and trinkets and bits and bobs on it are all from a huge button tin that my mother had since she was a little girl so most of the buttons were from garments back in the fifties sixties and seventies . There are Military buttons with the royal emblems on them that were removed from 1930s navy uniforms I even found some bobby pins in amongst the collection and used them .
I have used lots of gausing and lace along with paint and inka gold to create this canvas ..."


 Be sure to follow Eve on her blog for more great designs


Photobucket

Friday 19 July 2013

Miss Eve is on fire definetly got the Molossi Mojo happening. Eve is back tonight with another 3 share:


Friends for life


Products used
Manor house large flowe
Molossi border chipboard
Molossie party chip word from the Australia 12x12 chipset


Other products
Kaiser pattern papers
Kraft cardstock
Assorted flowers from I am roses


Products used
Molossi chipboard title and Australia chip
Molossi pattern paper from hobby co collections
Chipboard sun all from Australia 12x12 chipset


Other products
Hand crochet doilies
Bottle cap
Assorted I am roses flowers
Hand stamped banner


Products used are
Molossi shimmer cardstock
Molossi flocked velvet paper
Molossi sticky bling strips
Other products
Kaiser flowers
Handmade stickpin by Evie
Stamped title
Lace 
 Be sure to follow Eve on her blog for more great designs
 
 
 Photobucket

The talent Eve has stopped in with two great layouts today 
 
 Layout #1 Beautiful you 

Products used
Molossi pattern papers from upikit stationary
Molossi lamp post chipboard
Large flower

Other products used
Paper doily
I am roses flowers
Basic grey chip board
Handmade bottlecap and butterfly stick pin
Fabric butterfly
Kaiser banner stamp


 Layout #2 BFF

 Products used
Molossi glitter card stock
Molossi flocked paper
Molossi chipboard frame
Manor house flower

Other products used
Kaiser paper flowers
Lace
Ribbon flowers
Kaiser sparklets
Craft robo cut flourish ..
Cheers Eve
  Be sure to follow Eve on her blog for more great designs
 

Photobucket

Wednesday 17 July 2013

Ohh I have one more I have to share, back with Leanne 
This is what Leanne emailed us:
 
Just sharing another grunge mixed media layout I created using Molossi's great chipboard pieces. I started with a grey Bazzill cardstock and used a sketchy background paper from Basic Grey, For my grunge background I started with a white piece of cardstock which I primed with a liquid gesso paint, I then you used a few colour Faber Castell Gelato's for the background with some stamping with texture stamps, washi tapes, plaster's texture tape and some stencilling. I primed the chipboard pieces with a Gesso paint for the splatt's I used a red gelato stick and used a brush to watercolour it then used a black gelato to shade the outside and blended it with my finger, I then used the chicken wire stencil and some black dabber paint over the top. The bricks I primed and used a grey and white gelato and blended again with my finger and the same for the barbwire strips and the small frame adding bits of black to the barbwire.


Molossi - Chipboard sml barbwire frame
Barbwire strips
Brick Wall
Paint splatts
Non
Molossi - Bazzill cardstock, Basic grey paper, Faber castell gelato's, Gesso paint, kaisercraft texture stamp, plaster's tape, Ranger paint dabbers, Crafters worshop chicken wire stencil negative, Archival black ink, Tim Holtz distress ink black, Basic Grey sticker sheet, Kaiser sticker sheet, black sharpie pen, washi tapes, flair button and black cotton.

More of Leanne's work can be viewed at
leannesscrappystuff.blogspot.com.au


Photobucket
Our next share for the day is from Cathi, this is what Cathi shares:
I love watching you grow up together 

My girls are growing up so fast, sometimes they get along great, sometimes one wrong look and World War 3 breaks out. Last summer they had such a great day out building sand castles and collecting shells on the beach in Oregon, USA. I wanted to document that. They fight a lot, and I know it will probably get worse as they get closer to their teen years, but they do love each other and they can still play amazingly well together sometimes! I still can't believe sometimes that I am a mom to these beautiful little personalities, they make me proud, they tire me out, they exasperate me. I love them so much, and it brings a tear to my eye to see time passing by so fast. I am so glad I am their mom!!

I love the Molossi chipboard Fence Wire Panel (small) that I used here. It reminded me of fishing netting and I thought it would work great here for added texture for the layout! I sprayed it here with Lindy's Stamp Gang Tibetan Poppy Teal mist.

I used real shells from our beach trip, beautiful 7 Dots Dreamer paper and stickers, and gorgeous flowers and lace from Tresors de Luxe. I used a chevron mask and modelling paste which I sprayed with Shimmerz Olive Branch mist to add texture to the background, along with some May Arts burlap.

Thanks so much for looking!

Photobucket
We have two shares today form our lovely chippie ladies on our Design Team first is Joanne,
this is what Joanne shared with us:
 
ONE DOOR CLOSES ANOTHER ONE OPENS
A couple of years ago,  via a class I was taking at www.bigpictureclasses.com , I came across a blog by one of their tutors – Jennifer Mohler.  At this time Jennifer was starting a project called “100 Life Changing Moments” and her idea for this project inspired me to start an album about myself, recording those moments in my own life in the hope that one day my kids will have an  insight into what my life was all about before they came along. 
In my early 20s I was transferred interstate with my job – obviously this qualified as one of those moments that changed the course of my life.  This layout tells the story of that time and the old quote used regularly in my home when I was young –“ One Door closes another one opens”.
Molossi’s  fabulous range of hardware related chipboard including doors, locks and keys were the 
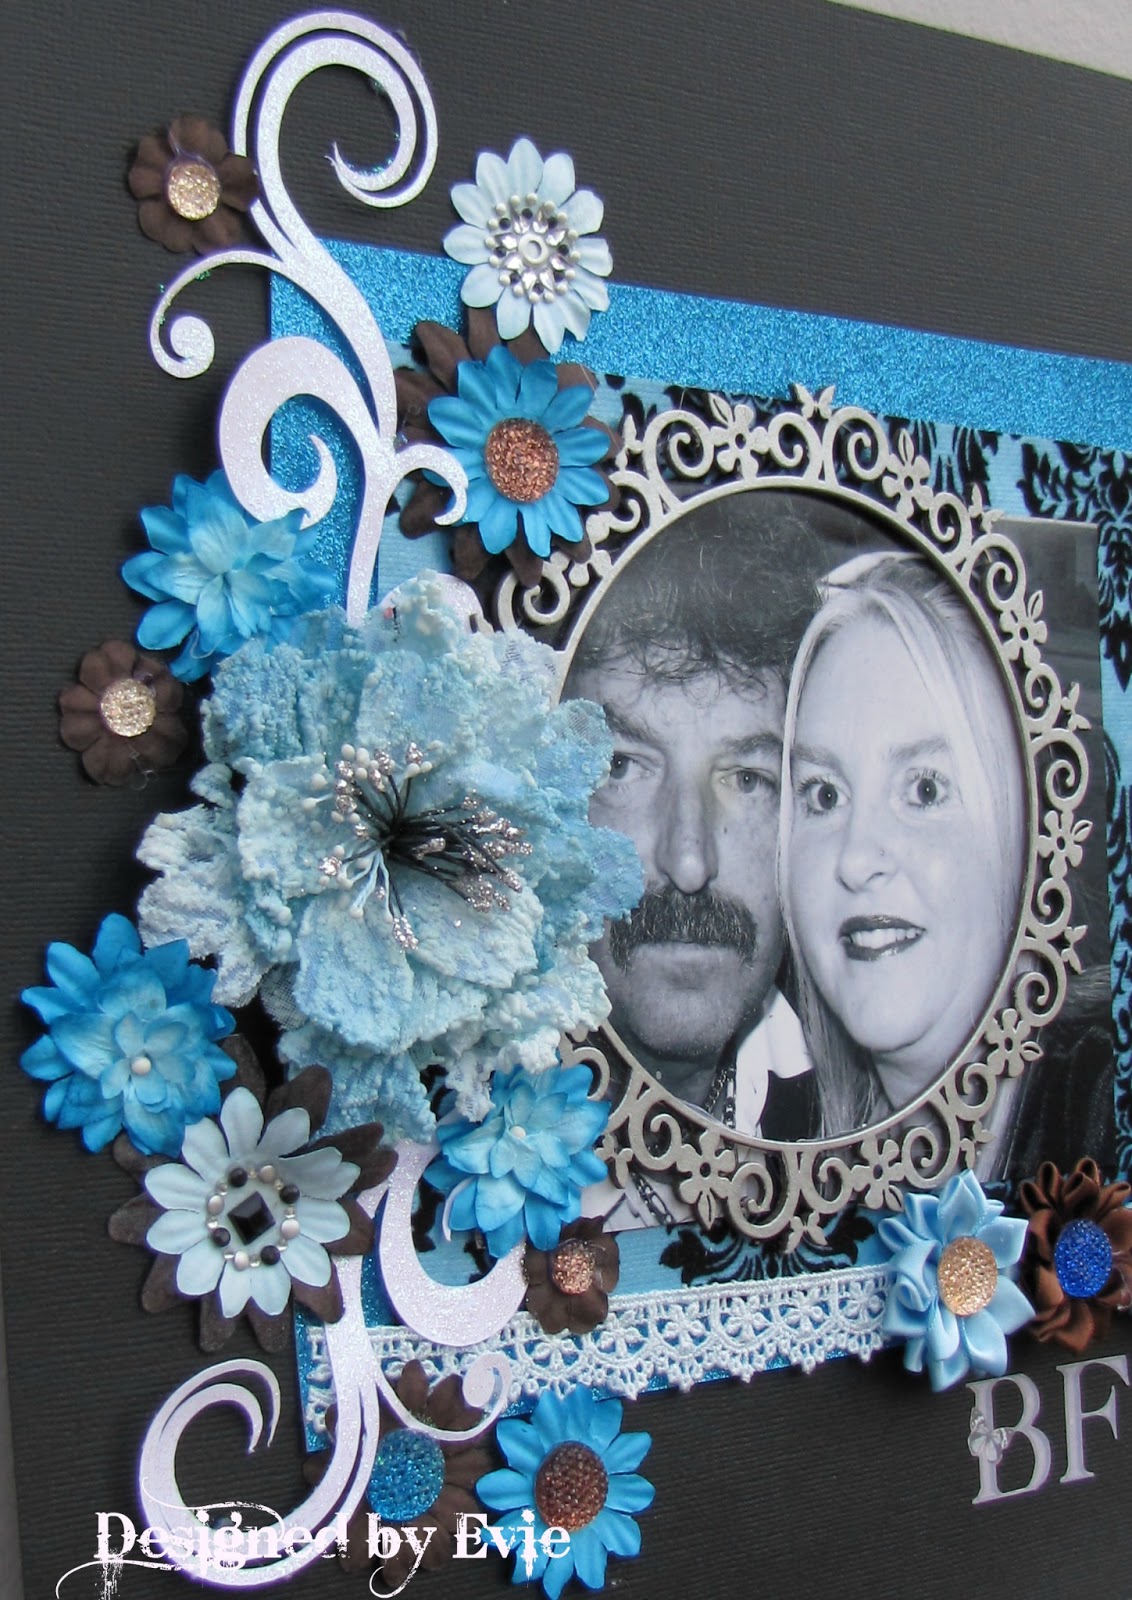
perfect way to highlight the idea of this layout.  Whilst the photos all suggested a party, I wanted the embellishments to help show it was so much more than the photographs portrayed.  I also wanted to include a lot of journaling on the layout – something most of the pages in this album have as they all have quite a story – but with so many photos I didn’t have loads of room. 
To kickstart, I coloured the doors using Tim Holtz distress markers for the majority of the door and Sakura Gelly Roll pen for the detail work.  On the larger door I also added a brad to the door handle to give it even more dimension and really make the door handle stand out.
I decided that the beautiful signpost from Molossi would be a great place to put the title for the layout and still keep with the theme so I also used the same materials to colour the signpost- adding the title in small punched letters from brown cardstock.  The addition of a small flower from “Scrap of Difference” and some Dimensional Magic over the “metal” look parts to give a shine and the signpost was complete. 


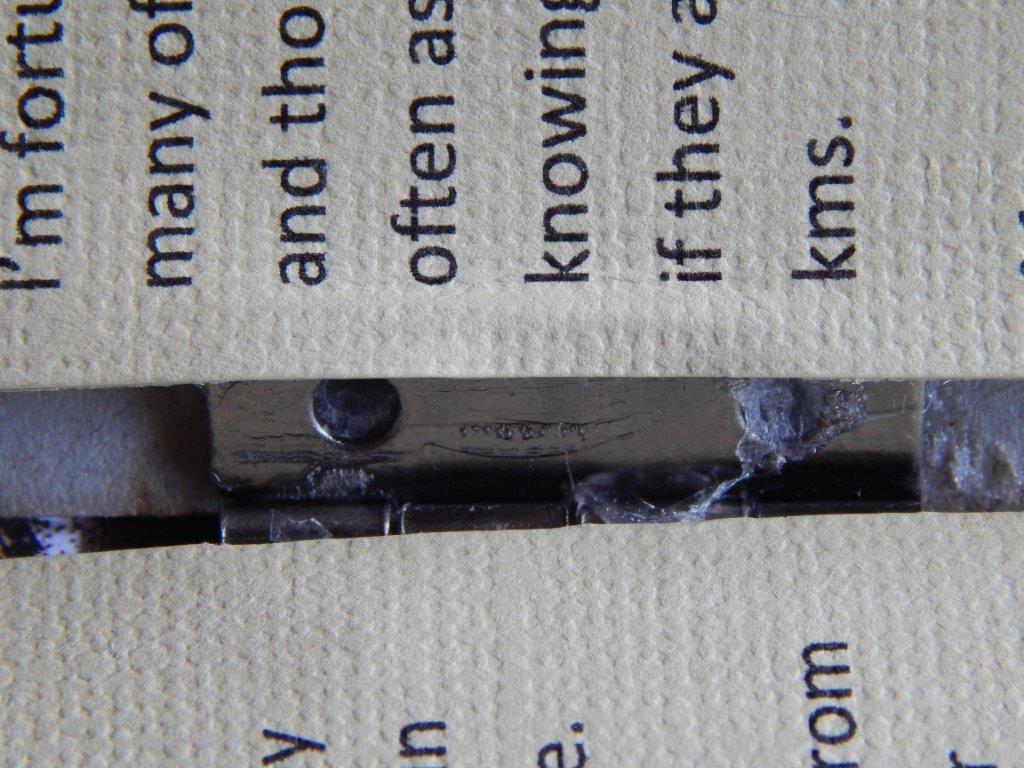
In order to hide the journaling but still have plenty of room I wanted the largest door on page 2 of my layout to open and have the journaling hidden beneath it.  To achieve this I added 3 hinges to the inside of the door – as brads would have shown through on the front of the chipboard door, I have simply glued the top hinge but secured the bottom with brads.  The journaling secured inside the door – both adhered to the back of the door and underneath the opened door,  covers  the majority of the actual hinge but still allows the door to be opened and closed to read the journaling.


As additional embellishments for my page I added some locks and keys from Molossi.  These have been coloured using a Sakura Gelly Roll pen in Copper and securing together with some coloured twine.  Leaving the ends of this twine long and creating a few loops gives a bit of added interest and movement to the page.
Now it was simply a matter of selecting some co-ordinating patterned papers and cardstock, a few decorative edges to these with a Martha Stewart border punch, a die cut clock from Tim Holtz and adhering down the photos and the job was all done.


Thanks for stopping by and having a look – I hope you have a play with this range of chipboard and drop back and show us what you did with it J


Be sure to view  more of Jo' work at
 http://www.josscrapofdifference.blogspot.com.au/
 
Photobucket